1. Set up the Operating System
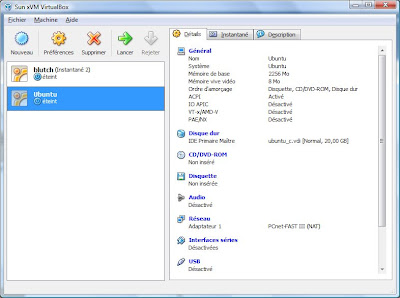 Select your Ubuntu Virtual Machine and click launch to start it. A new Wizard will help you install your operating system.
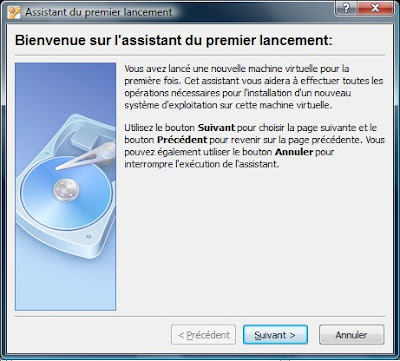 Click Next.
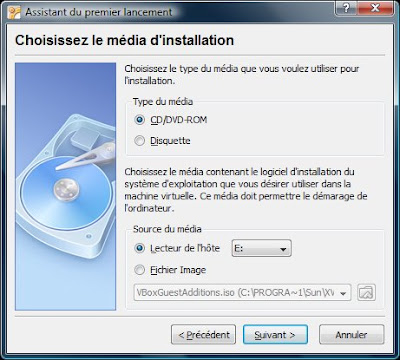
The media type is obviously a CD/DVD-ROM. Floppy disks are used to setup old operating systems such as MS-DOS which are still supported by Virtual Box. Because our Ubuntu installation files are store in a ISO file in our physical hard drive, the media source will be an image file for which we will need to indicate the path. Click Image File and click on the browse button. The following window opens:
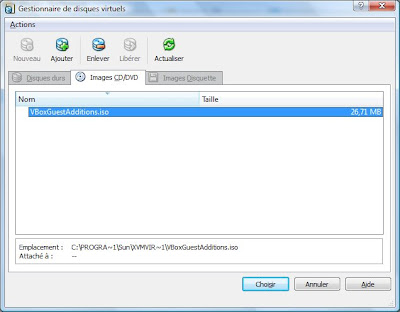
Click the Add button and browse to the location of your ISO image of Ubuntu. The Virtual Machine will boot using the image file as a virtual CD/DVD-ROM.
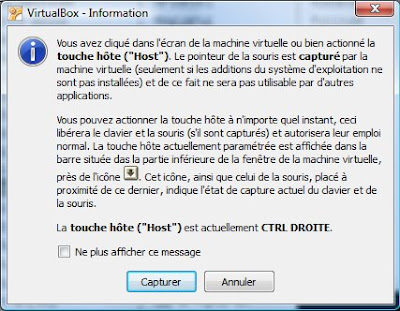
An information window will tell you how to make the mouse pointer captured by the guest window or released to be used by the host operating system. The first option shows the desktop environment of Ubuntu. Use the second one to install Ubuntu in your new virtual machine. A new Wizard will start to help you configuring your locale configuration. The first window will ask you to choose the language.
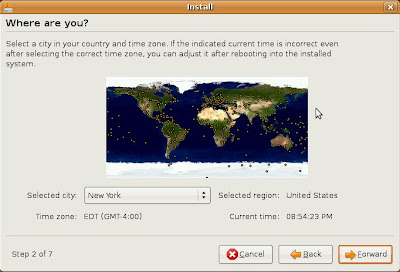
 The next screen will ask you your geographic location or the nearest place.
 The next screen allows you to choose you keyboard layout.
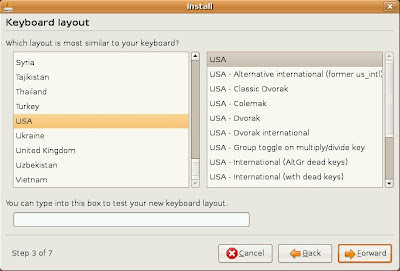 The next screen allows you to prepare for your disk partition. We will use the Guided - Use entire disk for the purpose of this tutorial. The next screen will ask you about your personal identification information.
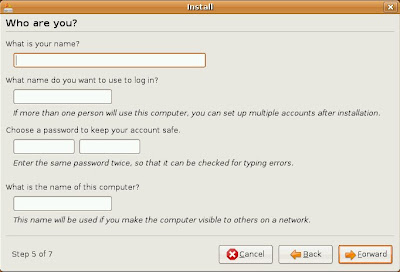 The last screen gives you a summary of your new operating system setup before installing Ubuntu on your virtual hard drive.
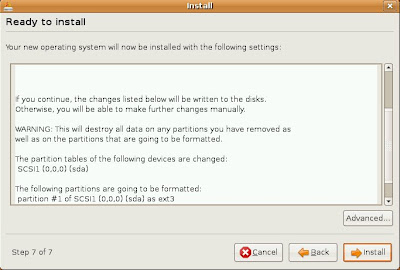 Once the installation done, you are prompted to restart your virtual machine.
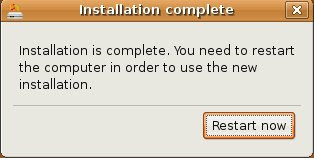
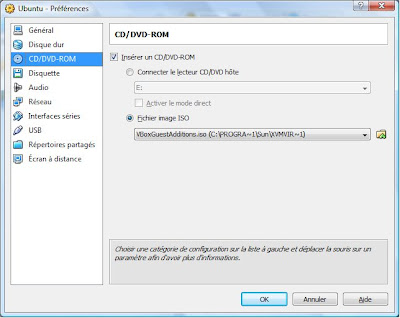
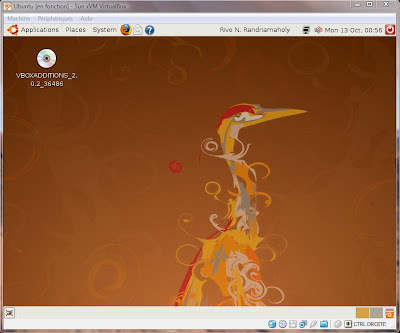
Make sure to have the Insert CD/DVD-ROM check box selected with the ISO image file radio button. In the drop down list, select the VBoxGuestAdditions.iso file. Once you start again your your virtual machine, you will see the image file on your desktop like in the screenshot below.
 Launch the terminal from the Application menu and Accessories. To reach the CD-ROM, type:
cd /cdrom
Then run the Linux shellscript, using administrator privilege:
sudo sh ./VirtualBoxLinuxAdditions-x86.run
The script will run after prompting the administrator password. Shut down your virtual machine to apply the changes and proceed to the next step.
3- Configuring the sound
From the Preferences, click Audio. Select Activate Audio check box. From the Host Audio Driver, choose Windows Direct Sound; for the Audio Controller, choose ICH AC97.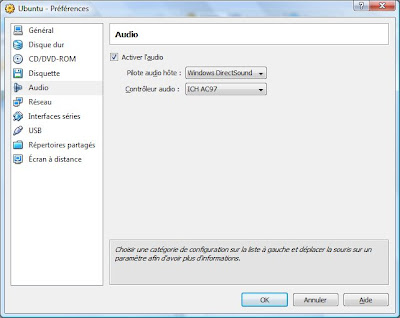

No comments:
Post a Comment