In the zip file, go to the plugins folder and extract the following files:
- org.pentaho.designstudio.editors.actionsequence_2.0.0.974
- org.pentaho.designstudio.editors.core_2.0.0.616
- org.pentaho.designstudio.editors.reportwizard_2.0.0.1037
From usr/lib/eclipse directory, type in:
sudo chown
Uncheck the Use the Default Location, and Browse to your BI server installation folder > pentaho-solution. In the Package explorer, you will be able to see the content of your project.


Log in as the Joe(admin), the password field is filled automatically. You will be redirected to the Pentaho admin page.
 Click the Generate URL button and then click Run to open the HelloWorld.xaction page. You should have the following result.
4- Change the HelloWorld Action Sequence
Click the Define Process tab and select Hello World. In the message drop-down list box, change the "%quote" to "-I did it". As your BI server uses the DB-base solution repository, action sequences are run from the database repository. You need to tell the server to refresh the database. Go back to the test tab; you will be prompted to save your changes to your Action Sequence. Click Yes.
Go back to the admin page at localhost:8080/pentaho.
Click Tool > Refresh > Repository Cache.
A message box information will tell you that the refreshing has been successful.

Click the Generate URL button and then the Run button to display the result of the action sequence. The new page will display: Hello World - I did it.


 Now you should have 2 different IP address for your guest and your host within the same network, you can ping from one to the other.


 Select the Interface 1 tab, check Activate Networking Interface. Select PCnet-FASTIII as the Interface Type. Sun's documentation explains the differences between those different interface types.
 You can see in the list the Network Interface you have configured earlier. Control select the Virtual Box Interface and your Network Connection. Right-click and choose Bridge Connection.
  You will have a new icon called Network Bridge in your Network Connections window.
  Right-click the Network Bridge and go to Properties.
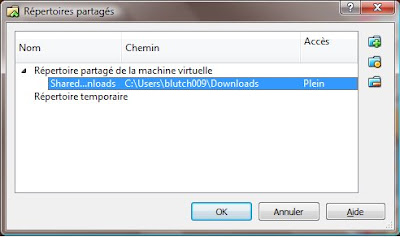 2- Click the Add a New Shared Folder button in the top right corner of the window.
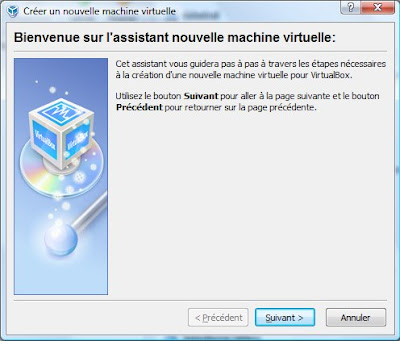
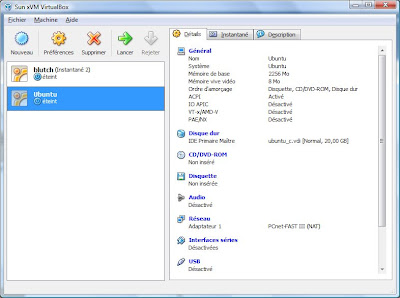 Select your Ubuntu Virtual Machine and click launch to start it. A new Wizard will help you install your operating system.
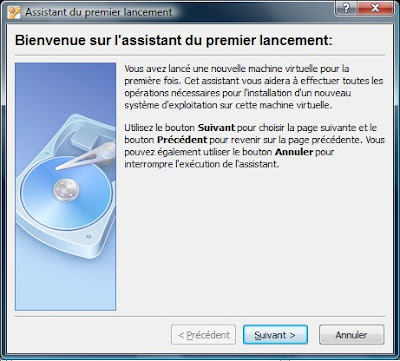 Click Next.
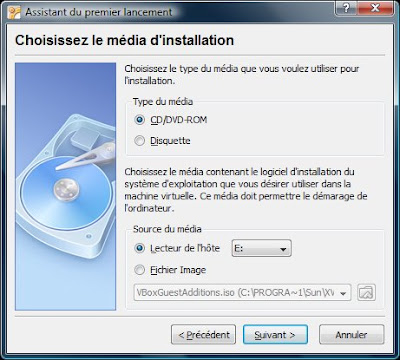
 The first option shows the desktop environment of Ubuntu. Use the second one to install Ubuntu in your new virtual machine. A new Wizard will start to help you configuring your locale configuration. The first window will ask you to choose the language.
 The next screen will ask you your geographic location or the nearest place.
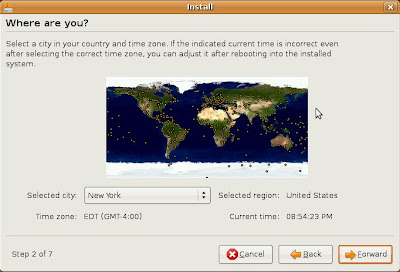 The next screen allows you to choose you keyboard layout.
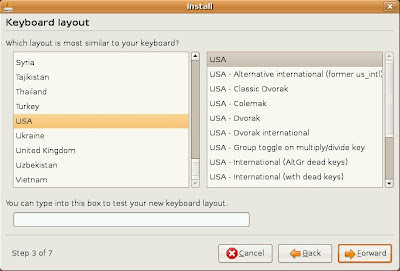 The next screen allows you to prepare for your disk partition. We will use the Guided - Use entire disk for the purpose of this tutorial. The next screen will ask you about your personal identification information.
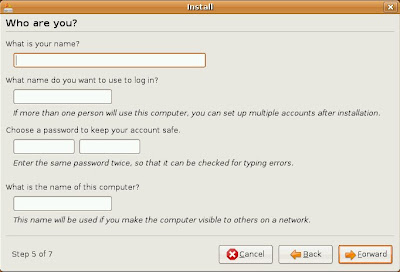 The last screen gives you a summary of your new operating system setup before installing Ubuntu on your virtual hard drive.
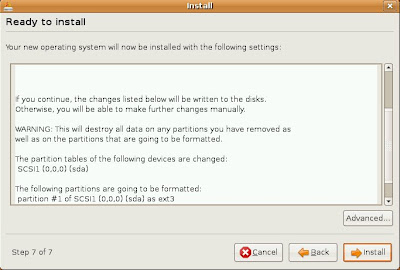 Once the installation done, you are prompted to restart your virtual machine.
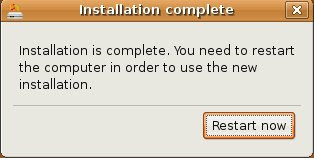
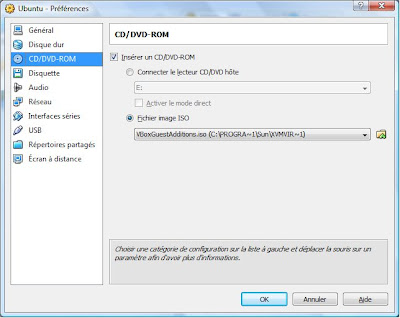
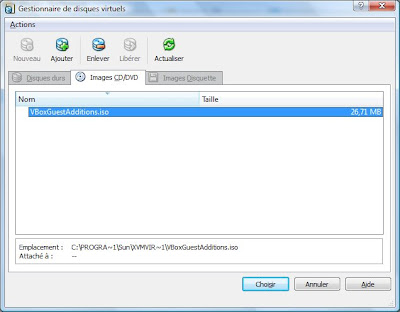
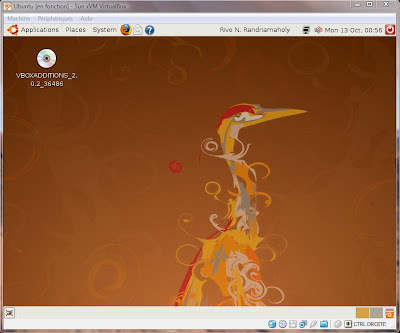 Launch the terminal from the Application menu and Accessories. To reach the CD-ROM, type:
 Give a name to your new VM (as you give a name to your computer when setting up Windows).
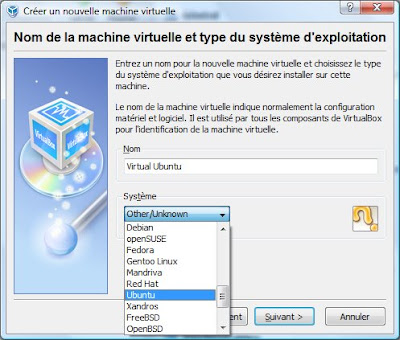
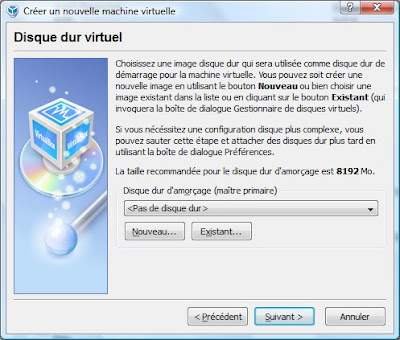
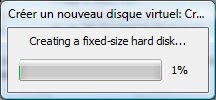
 You give a name to your virtual hard drive and use a slider to assign a minimum size. Then, you specify the path you want your image file being saved in. Virtual Machine will start to create the image file. I use 20 Gb for the size of the virtual hard drive.